
Your passwords are the keys to everything you own online. Bank accounts, email, cloud storage, work systems, personal messages. And most of us hand those keys to a third party who stores them behind an API we don't control, on infrastructure we can't audit, subject to a business model that can change overnight.
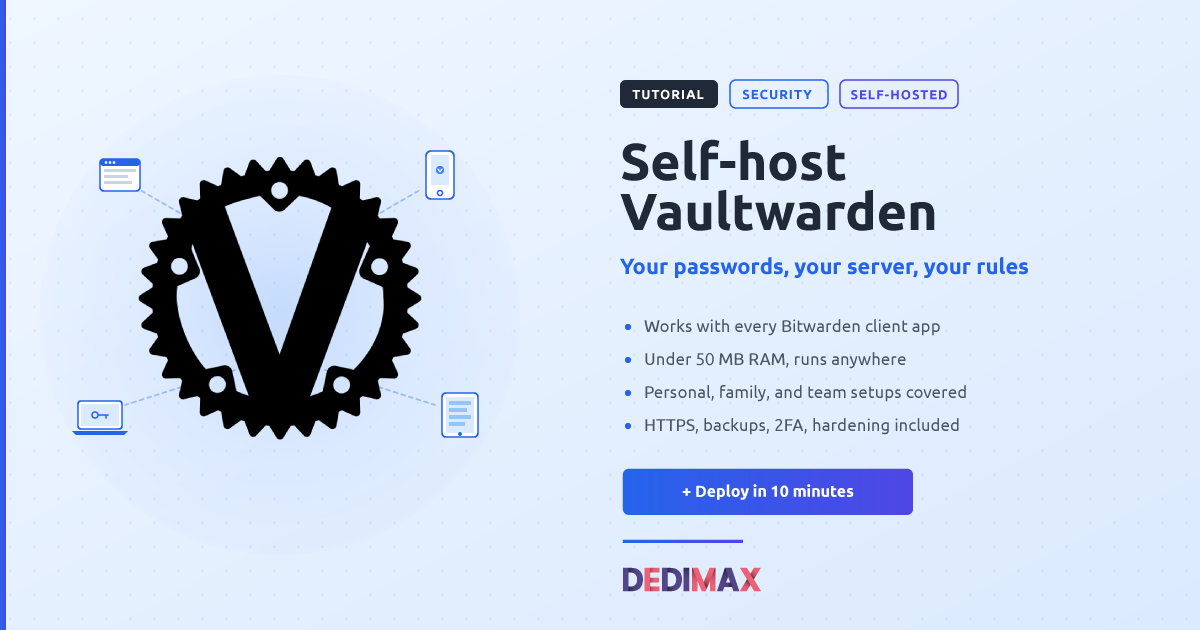
Vaultwarden fixes that. It's an open-source, Bitwarden-compatible password server that runs on your own machine, works with every official Bitwarden client (browser extensions, desktop, iOS, Android, CLI), and uses less than 50 MB of RAM at rest. You get the full Bitwarden experience, on hardware you control, with data that never leaves your infrastructure.
This guide covers the full setup: install, HTTPS, admin lockdown, backups, and how to structure it for both personal use and small team deployments.
A quick clarification before we start, because the naming is confusing.
Bitwarden is the company and the client apps you probably already know. The mobile app, the browser extension, the desktop client. They're all official, open-source, and free.
Vaultwarden (formerly bitwarden_rs) is a community-maintained, unofficial server implementation of the Bitwarden API. It's written in Rust by dani-garcia and a small team of contributors. It speaks the same protocol as the official Bitwarden server, so every official client works with it unchanged.
The reason Vaultwarden exists: the official Bitwarden self-hosted server needs 11 containers, Microsoft SQL Server, and a serious amount of RAM. Vaultwarden runs as a single container with SQLite and works on a Raspberry Pi Zero. For individuals, families, and small teams, it's the practical option.
Vaultwarden is licensed under AGPL-3.0. It's not affiliated with Bitwarden Inc., though one of the active maintainers is employed by Bitwarden and contributes on personal time.
For personal or small family use, a Cloud server at 3.90€/month is plenty. For a small team with organizations, sharing, and heavier usage, a VPS at 9.99€/month gives you room to run Vaultwarden alongside other services.
One thing to know upfront: HTTPS is not optional. Vaultwarden requires it. The Bitwarden clients use the browser's Web Crypto API, which refuses to work over HTTP on anything that isn't localhost. Plan for a domain name and a reverse proxy from the start.
SSH into your server:
ssh root@your-server-ipUpdate packages and install what we need:
apt update && apt upgrade -y
apt install nginx certbot python3-certbot-nginx -y
Open the required ports in your firewall (if you're using UFW, our firewall guide walks through the basics):
ufw allow 22/tcp
ufw allow 80/tcp
ufw allow 443/tcp
ufw enableCreate a working directory:
mkdir -p /opt/vaultwarden && cd /opt/vaultwardenGenerate a strong admin token. This protects the admin panel, so don't skimp:
openssl rand -base64 48Save that value somewhere. We'll paste it in the next step.
For extra security, you can hash the token with Argon2 so the plain value never sits in a config file:
docker run --rm -it vaultwarden/server /vaultwarden hashType your token when prompted. Copy the whole output (starts with $argon2id$...), that's what you'll use as the value of ADMIN_TOKEN.
Now create docker-compose.yml:
nano docker-compose.ymlPaste this:
services:
  vaultwarden:
    image: vaultwarden/server:latest
    container_name: vaultwarden
    restart: unless-stopped
    environment:
      DOMAIN: "https://vault.yourdomain.com"
      SIGNUPS_ALLOWED: "true"
      ADMIN_TOKEN: "your_generated_admin_token_here"
      INVITATIONS_ALLOWED: "true"
      WEBSOCKET_ENABLED: "true"
      ROCKET_WORKERS: 2
    volumes:
      - ./data:/data
    ports:
      - "127.0.0.1:8080:80"
      - "127.0.0.1:3012:3012"
Two important notes on that config:
The SIGNUPS_ALLOWED: "true" is temporary. You leave it on to create your account, then switch it off. Otherwise anyone who finds your URL can register an account on your server.
The ports are bound to 127.0.0.1, which means they're only reachable from localhost. Your reverse proxy will forward from the outside. This is a real security improvement over binding to 0.0.0.0, because even a firewall misconfiguration won't expose the container directly.
docker compose up -dCheck the logs to make sure it started cleanly:
docker compose logs -f vaultwardenYou should see something like Rocket has launched from http://0.0.0.0:80. Ctrl+C to exit the logs.
At this point Vaultwarden is running on port 8080, but only accessible from localhost. Time to add HTTPS.
Point a DNS A record at your server:
A vault.yourdomain.com YOUR_SERVER_IPWait 1 to 5 minutes for DNS to propagate.
Create the Nginx site config:
nano /etc/nginx/sites-available/vaultwardenPaste this:
server {
    listen 80;
    server_name vault.yourdomain.com;

    client_max_body_size 128M;

    location / {
        proxy_pass http://127.0.0.1:8080;
        proxy_set_header Host $host;
        proxy_set_header X-Real-IP $remote_addr;
        proxy_set_header X-Forwarded-For $proxy_add_x_forwarded_for;
        proxy_set_header X-Forwarded-Proto $scheme;
    }

    location /notifications/hub {
        proxy_pass http://127.0.0.1:3012;
        proxy_set_header Upgrade $http_upgrade;
        proxy_set_header Connection "upgrade";
        proxy_http_version 1.1;
    }

    location /notifications/hub/negotiate {
        proxy_pass http://127.0.0.1:8080;
        proxy_set_header Host $host;
    }
}
The /notifications/hub block is not optional. Vaultwarden uses WebSockets for real-time sync between clients. Without those location blocks, your changes on one device won't show up on another until you manually refresh.
Enable the site, test the config, get an SSL certificate:
ln -s /etc/nginx/sites-available/vaultwarden /etc/nginx/sites-enabled/
nginx -t
systemctl reload nginx
certbot --nginx -d vault.yourdomain.com
Certbot will renew automatically. To verify it works:
certbot renew --dry-runNow open https://vault.yourdomain.com in your browser. You should see the Vaultwarden web vault.
Click Create Account, fill in your email and a strong master password. This master password is the one thing you cannot forget. If you lose it, your vault is unrecoverable. Vaultwarden has no reset flow. That's the point.
Once your account is created:
nano /opt/vaultwarden/docker-compose.ymlChange:
SIGNUPS_ALLOWED: "false"Then restart:
docker compose up -dNow nobody new can register on your server. If you need to add users later, you'll invite them from the admin panel or create their accounts through the organization interface.
Access the admin panel at https://vault.yourdomain.com/admin. You'll be prompted for the ADMIN_TOKEN you generated. This is where you configure SMTP, disable signups permanently, manage users, and see server diagnostics.
The setup you just built works for all three, but the way you use it differs.
You have one account, one vault, all your passwords. Install the browser extension on your desktop and mobile. On each client, go to Settings and change the server URL to https://vault.yourdomain.com before logging in.
That's it. Your extensions and apps sync automatically over the WebSocket connection you configured.
Create a free organization from your web vault. Invite family members via email (you'll need SMTP set up in the admin panel for invitations to work). Each person creates their own account with their own master password.
Inside the organization, you can share:
Everyone keeps their own personal vault separate from the shared organization. If someone leaves the family, revoking their access removes them from the shared items but doesn't touch their personal passwords.
Same structure as family, at a larger scale. Create an organization per team or per project. Use groups to assign permissions to collections without managing each user individually.
For teams, three things are worth configuring:
SMTP for invitations. Go to the admin panel, then Settings → SMTP. Add your provider credentials (any transactional email provider works, or your own SMTP server). Without this, you can't invite users by email.
Enterprise SSO or OIDC. Vaultwarden supports OIDC login through configuration flags. If your team already uses Google Workspace, Microsoft Entra, or Authentik, you can wire up SSO so people log in with their existing corporate identity.
Emergency access. Bitwarden's emergency access feature lets a designated user request access to another user's vault after a configurable waiting period. Useful for team continuity if someone's unreachable, or for personal accounts as a "digital estate" plan.
If you're coming from Bitwarden cloud, LastPass, 1Password, or another manager, migration is one of the smoothest parts of switching.
Every mainstream password manager exports your vault as an unencrypted file (usually JSON or CSV). In your existing tool, look for Export Vault in Settings. In Bitwarden's own clients, you can even export directly to Bitwarden's JSON format, which imports 1:1 into Vaultwarden.
From your Vaultwarden web vault, go to Tools → Import Data, pick the format that matches your export, and upload the file.
Two things to do immediately after:
Test a few key logins from the browser extension. Once everything works, uninstall the old extensions from every browser. Otherwise you'll end up with two extensions competing to autofill.
Vaultwarden stores everything in /opt/vaultwarden/data. If that directory disappears, your vault is gone. The whole point of self-hosting your passwords is that no one else has them, so no one else can restore them for you.
Set up automatic daily backups. Create a script at /opt/vaultwarden/backup.sh:
#!/bin/bash
BACKUP_DIR="/opt/backups/vaultwarden"
DATE=$(date +%Y%m%d-%H%M%S)
mkdir -p "$BACKUP_DIR"

# Hot backup of the SQLite database
docker exec vaultwarden sqlite3 /data/db.sqlite3 ".backup /data/db-backup.sqlite3"

# Archive everything
tar czf "$BACKUP_DIR/vaultwarden-$DATE.tar.gz" -C /opt/vaultwarden data

# Keep last 30 days
find "$BACKUP_DIR" -name "vaultwarden-*.tar.gz" -mtime +30 -delete
Make it executable and schedule it:
chmod +x /opt/vaultwarden/backup.sh
crontab -e
Add:
0 3 * * * /opt/vaultwarden/backup.shThat runs every night at 3 AM.
Then, and this is the part most people skip, copy the backups off the server. Set up rclone to sync your backup directory to a second location. A cheap S3-compatible bucket, a home NAS via SSH, another VPS in a different location. The rule is 3-2-1: three copies of your data, on two different types of media, with one copy offsite.
Restoring is straightforward: stop the container, replace the data directory with the backup contents, start the container. Test this once, not during a real incident.
Beyond the basics, a few extras that make a difference.
Rate limit login attempts with fail2ban. Vaultwarden logs failed logins with the source IP, and fail2ban can watch those logs and ban IPs that keep trying. There's a well-documented jail configuration in the Vaultwarden wiki.
Turn off signups permanently. Once your users are all created, set both SIGNUPS_ALLOWED and INVITATIONS_ALLOWED to false. If you need to add someone later, temporarily flip it back on.
Turn on TOTP or WebAuthn on the master account first. Vaultwarden supports all the standard 2FA methods (TOTP, WebAuthn/FIDO2, YubiKey, Duo, email). Set up at least one on your admin account before you do anything else.
Restrict the admin panel. By default /admin is public (behind the token). You can restrict it further at the reverse proxy layer:
location /admin {
    allow YOUR_HOME_IP;
    deny all;
    proxy_pass http://127.0.0.1:8080;
    proxy_set_header Host $host;
}
Add that to your Nginx config, reload, and only your home IP can reach the admin panel. Even if the admin token leaks, an attacker can't use it from anywhere else.
Monitor the instance. Set up Uptime Kuma to check your vault URL. If Vaultwarden goes down, nobody in your household or team can log in to anything new. You want to know within a minute.
"Cannot read property 'importKey'" in the browser. You're on HTTP, not HTTPS. Fix your reverse proxy or certificate.
Changes on one device don't show on another. WebSockets aren't working. Check that your Nginx config has the /notifications/hub block exactly as shown, and that WEBSOCKET_ENABLED: "true" is set in the compose file.
TOTP codes don't match after enabling 2FA. Your server time is wrong. Run timedatectl and verify. Install chrony or ntp if needed.
Extension keeps asking to re-log after Vaultwarden update. Sometimes Vaultwarden changes API details in ways that require newer clients. Update the Bitwarden browser extension to the latest version.
Backups didn't restore correctly. Check that you stopped the container before replacing the data directory. SQLite doesn't handle concurrent access, so a copy taken while Vaultwarden was writing can be corrupt. That's why the backup script above uses SQLite's .backup command first.
Vaultwarden releases updates regularly. To upgrade:
cd /opt/vaultwarden
docker compose pull
docker compose up -d
docker image prune -f
Your data stays in the volume, so nothing is lost. Check the release notes on GitHub before major version jumps in case there are breaking changes.
A password manager that works with every device you already use, syncs in real time, supports 2FA, allows organizations and sharing, encrypts everything client-side, and lives on infrastructure you control.
The cost: a few euros a month for the server, plus about ten minutes a month to check backups and apply updates. Compared to per-user pricing on hosted plans, the savings for anything larger than a solo user become significant quickly.
More importantly, the credentials to your entire digital life aren't sitting in a database that might get breached, sold, or discontinued. They're on your server, encrypted with a key nobody else has. For the one piece of self-hosted software everyone should run, this is a strong argument.
If you're setting this up from scratch, start with a Cloud server at 3.90€/month for personal or family use, or a VPS at 9.99€/month if you're deploying for a team or want to run other self-hosted services alongside.
Take control of your dedicated server (settings, data ...) without any limits in apps usage.
What are you waiting for ?
We’re waiting for you on our blog. New guides and tutorials published regularly (sysadmin, gaming, devops...) !
Let me check